![]()
On this page:
TICKET SUBMIT AND APPROVAL MANAGEMENT
Video
Roles and Self-Ticket Management Webinar
Click the video below to view a 40 minute comprehensive training Webinar focusing on all aspects of Roles and the Self-Ticket Management Feature in Lucidity Competency.
Roles: starts immediately and continues to the 30 minute mark
Self-Ticket Management: starts at the 30 minute mark and continues for 10 minutes
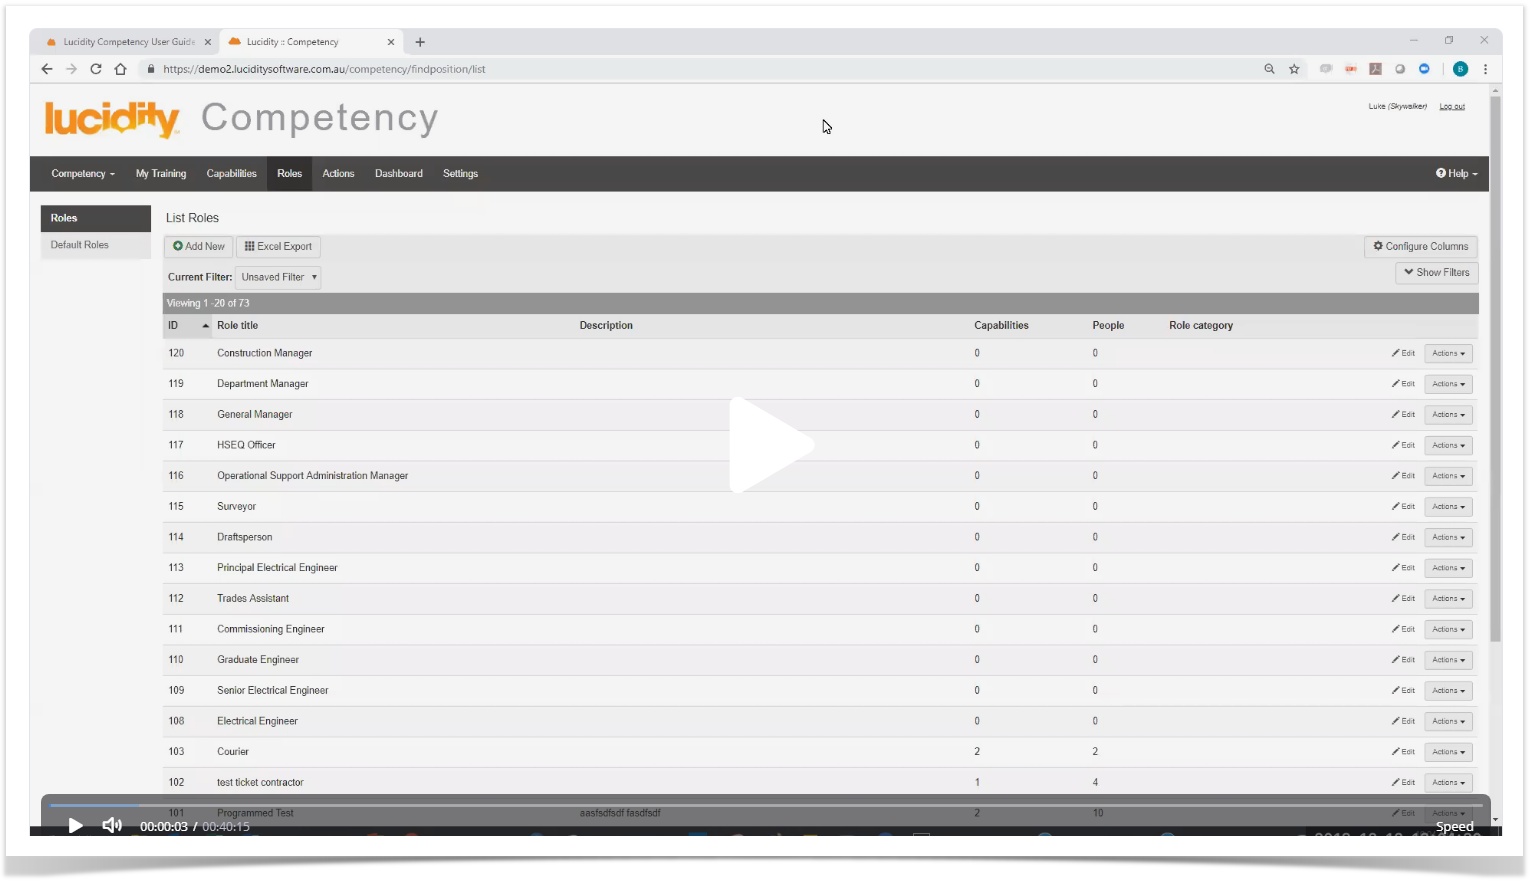
NOTE: This Webinar was recorded in December 2018. Any updates to the Roles or Self-Ticket Management features since then will not be included.
The Ticket Submit and Approval Management functionality allows for tickets (records) to be managed by end users (submitters) within Lucidity Competency in two ways:
- individual end-users can submit their own personal tickets OR
- an end user (such as an administrator from a contracting company) can submit tickets on behalf of someone else (such as a subcontractor)
This is then followed by an approval process performed by local internal administrators (approver).
There are several steps required in the process to ensure it works efficiently. These are outlined in the flow chart below and explained in detail throughout the rest of this section.
*Only required for individual ticket submission
The following Application Note illustrates the process from the perspective of the end user and the approver of the submitted training record.
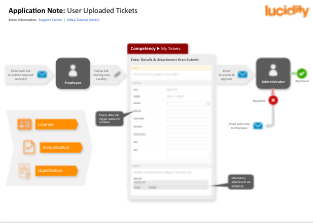
Competency Tickets V Contractor Documents
The tickets the individual is required to submit is up to the discretion of the organisation. Some examples could be a driver's licence, forklift ticket, first aid qualification etc. It is important to note this is quite difference to a contracting company's required documentation.
Competency Ticket Approval is used for an individual employee, contractor or sub-contractor's personal licences, tickets or qualifications.
Contractor Document Self-Service is used for a Contracting Company's documentation (such as public liability insurance, a safety management plan, motor vehicle insurance etc.) Refer to the Lucidity Contractor Self-Service user guide for more details.
Step 1: Permissions and Access
There are several privileges associated with the Ticket Submit and Approval Management feature.
| Privilege Name | Allows User to: |
|---|---|
| Records - Review/approve Tickets | Approve tickets that have been submitted via the validation process. |
| Records - Submit tickets for others | Submit tickets on behalf of other users. The submitted ticket will remain PENDING until approved . |
| Self Management - Submit Tickets | Submit required tickets as listed on the MY TICKETS page under the My Training tab. The submitted ticket will remain PENDING until approved. |
These are accessible in Lucidity Access. For further details on how to create profiles, roles and assign privileges, refer to the Roles section in the Lucidity Access user guide. Further details on specific Lucidity Competency privileges can be found in the Competency Access Roles and Privileges page in the Lucidity Access user guide.
Step 2: Capability Selection
This step only applies for tickets end users are required to submit for themselves. This needs to be set as part of the capability creation by the system administrator from Lucidity Competency by:
- Click 'Add New' from the Capabilities menu
- Alternatively, use filters to search for an existing capability and edit
- Populate all fields as required
For full details on creating new capabilities, refer to the Capability page in this user guide
- Tick the 'Allow User Ticket Submission' box
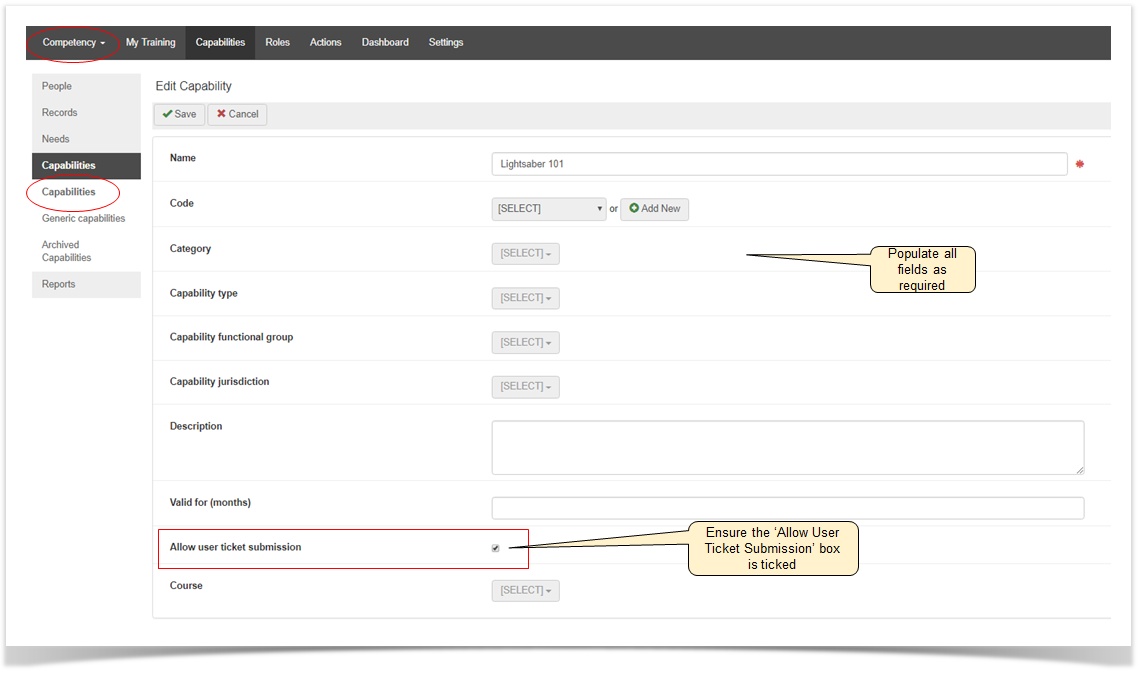
- Save and close
The capabilities with this field selected will now be part of the Self-Ticket Management process and, provided a need is assigned, will become available for end-users to enter their own tickets.
Step 3: Allocate Need
In order for the selected capability to become available for an individual end user to submit their own ticket, it needs to be assigned as a need through Lucidity Competency by the local administrator.
It is also recommended (but not required) needs are assigned in order for a user with the SUBMIT TICKETS FOR OTHERS privilege to know exactly what is required for the people they are submitting tickets for.
Refer to the Competency Needs or Competency Roles pages within this user guide for full details on assigning needs.
Step 4: Submit Tickets
Video
Ticket Submit and Approve Management - Individual End-User Guide
Ticket Submit and Approve Management - Submit on Behalf of Others Guide
COMING SOON!
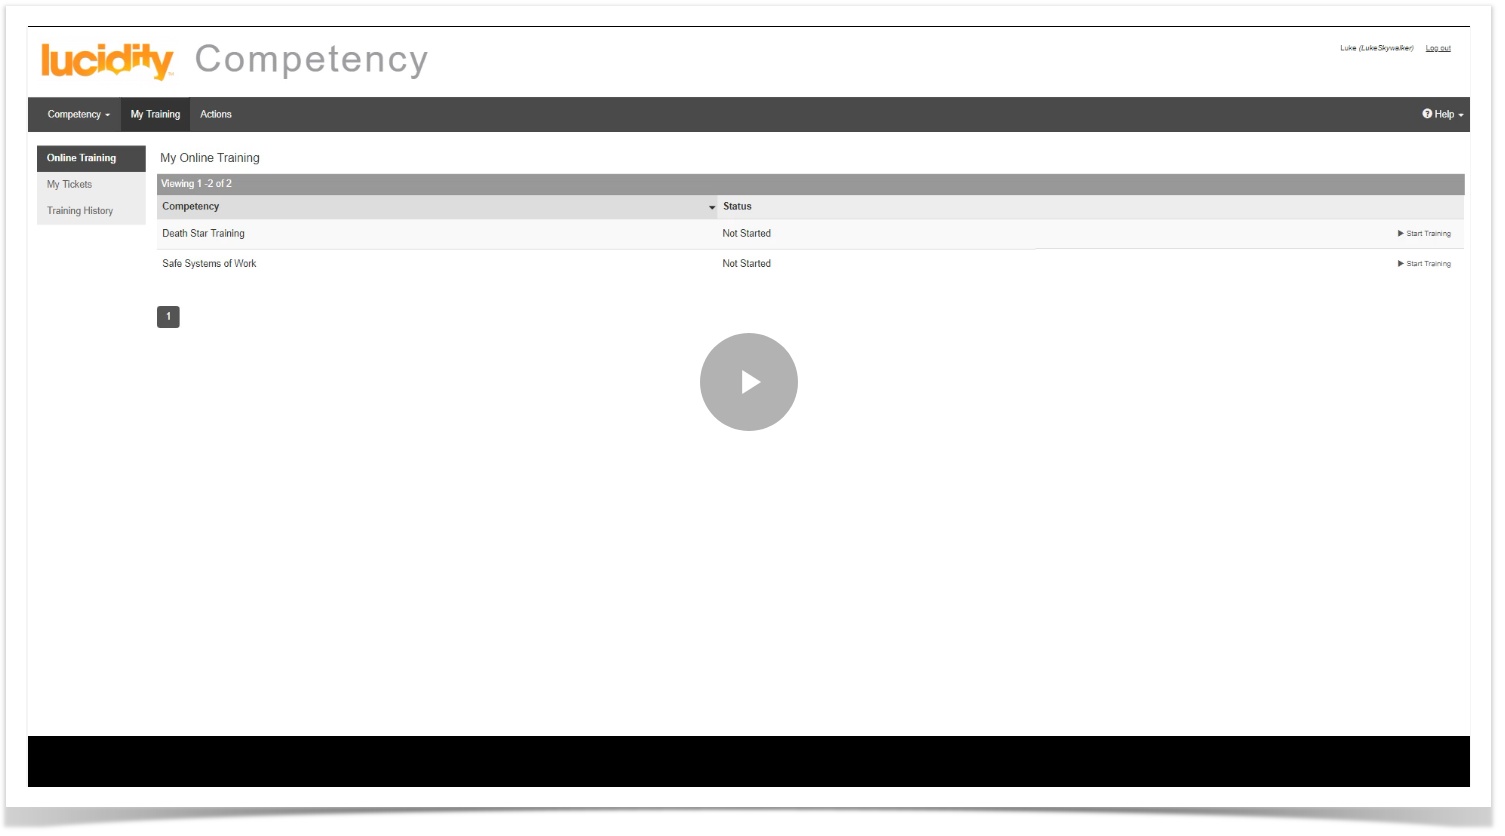
Once steps 1 - 3 have been complete, the end-user is now able to enter either their own tickets or tickets on behalf of another user in Lucidity Competency by:
- Log into Lucidity Competency
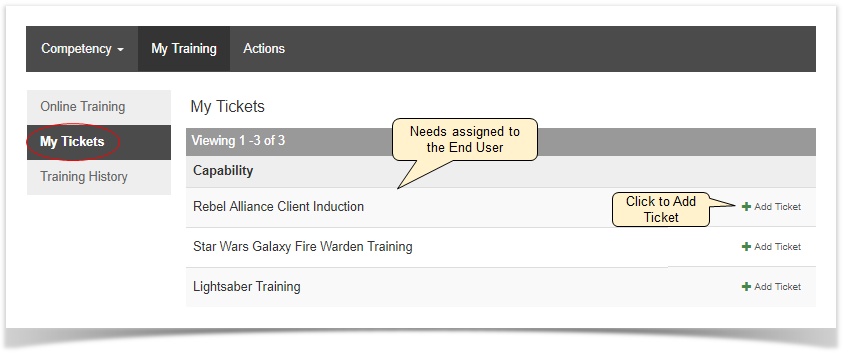
- To submit personal tickets:
- Click 'My Tickets'
- Click 'Add Ticket' on the far right for the required capability
- To submit tickets on behalf of another user:
- Click 'Needs'
- Click 'Submit Ticket' on the far right for the required capability
- NOTE: Tickets can be added directly from the RECORDS page by clicking the 'Submit a ticket' button. The required capability will need to be selected.
- Populate all fields as relevant, referring to the Definitions of Fields listed below
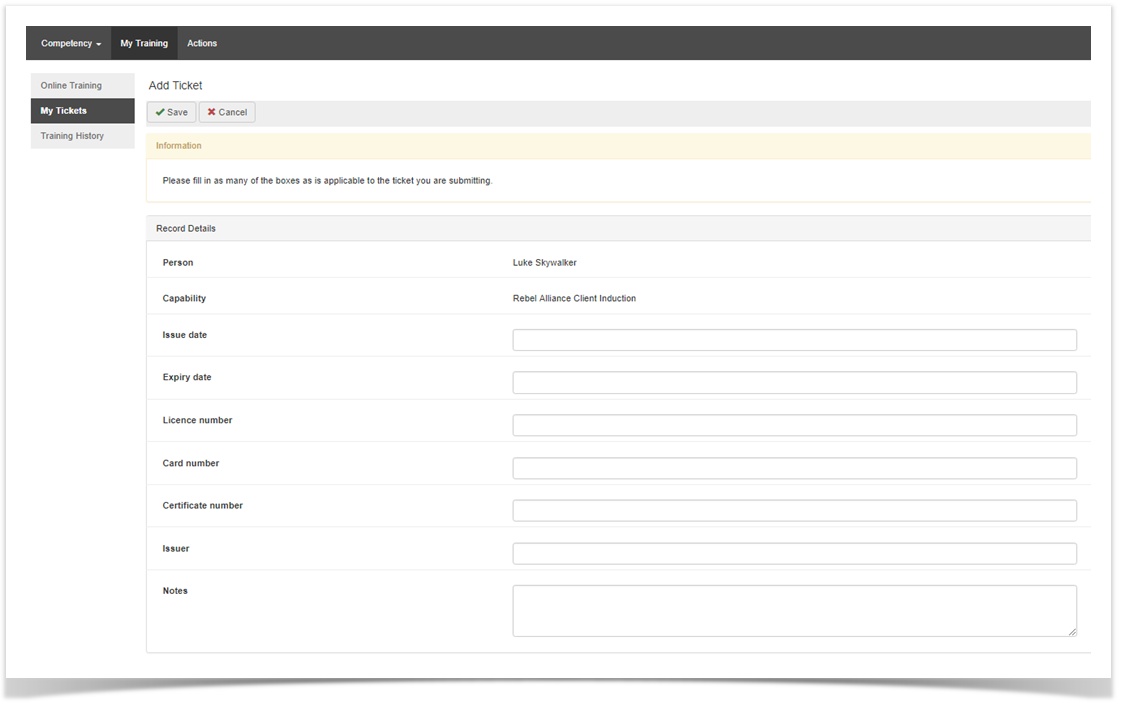
Definitions of Fields
Fields Definitions Issue Date Also known as the completion date - denotes when the training was completed or when the license/ certificate was issued
The issue date is used to calculate an automatic expiry date where relevant. This only occurs when the record is first created and not if it is updated.
Expiry Date The expiry date is used as the basis for notifications and alerts for each record
An expiry date may be automatically set when a record is created if relevant. This is based on the issue date and can be manually set or entered at any time
Licence Number
Entered if there is a license number issued Card Number Entered if there is a card number issued Certificate Number Entered if there is a certificate number issued Issuer The name of the organisation that issued the licence/ ticket/ qualification
Notes Entered if additional notes relating to the record or the specific title of the capability are required
- Upload scan or photographic evidence of the ticket, including front and back where relevant
- Click 'Add Document'
- Locate the document and click 'open'
- Name the file and add a description if required
- Repeat until all documents for the capability are added
- Click 'Upload' or 'Upload All'
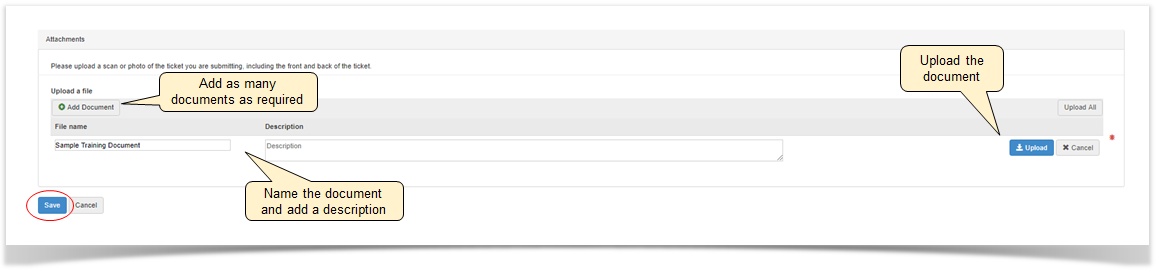
- Save
Refer to the Uploading/Managing Files user guide page for more details.
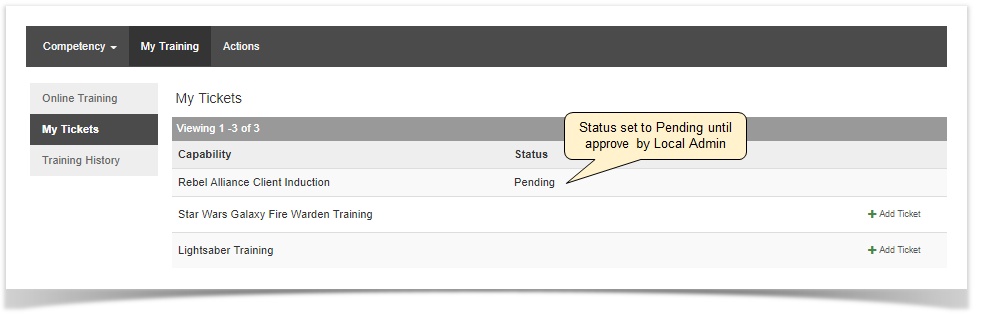
Regardless of who submitted the ticket, it will now be listed as 'Pending' as it requires approval from the local administrator.
Ticket Requirements
When submitting or editing a ticket, there are requirements that must be met in order for the ticket to be accepted:
- If an expiry date is entered, the date must not fall within the next 30 days
- At least one attachment is required as evidence
If either of these requirements are not met, the ticket will not save.
Step 5: Approve Tickets
Video
Ticket Submit and Approve Management - Approve Ticket
Local administrators need to approve the ticket before it is added as a completed record into Lucidity Competency. This is to ensure the details the end-user has entered are correct and meets all requirements. After reviewing the ticket, the local administrator can either approve or return it.
- To locate Tickets that are pending in Lucidity Competency:
- Navigate to the records menu
- Click the 'Ticket Approval Status' filter
- Select 'Pending'
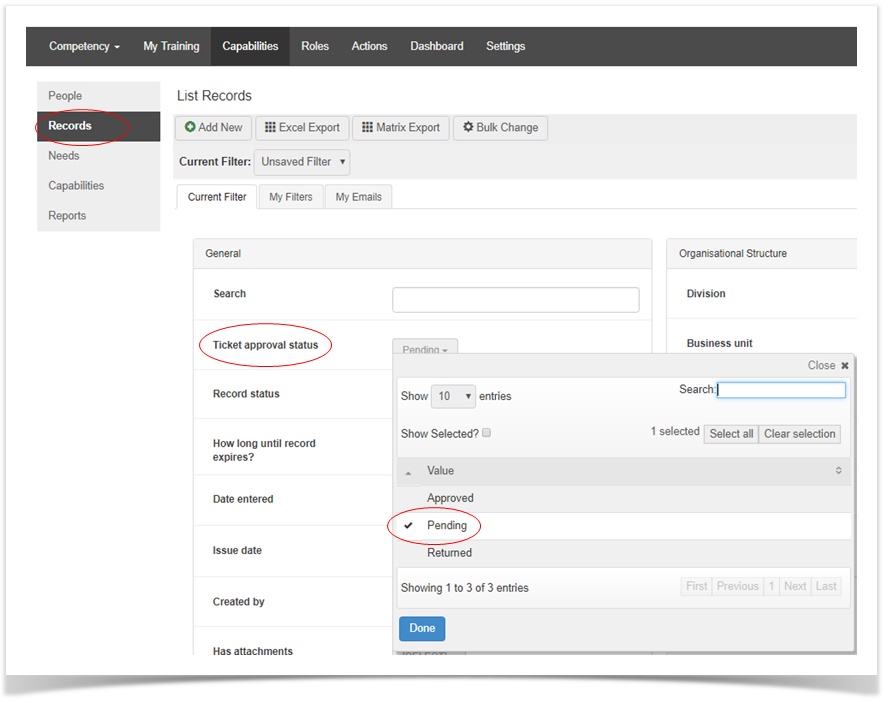
- Click 'Filter' to display all pending tickets
- This filter also allows for approved and returned tickets to be viewed
- Additional filters can be applied if the search returns too many results
- To review a pending ticket:
- Click 'Edit' on the far right

- Open the ticket attachment and check all details (by viewing the attachments) have been entered correctly
- There is the option for the local administrator to update the ticket details at this stage if required
- Change the approval status to either approved or returned
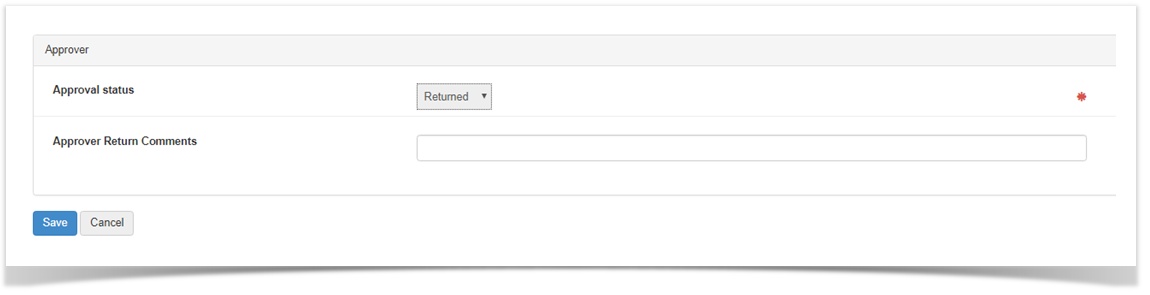
- Approved - This confirms the ticket has been entered correctly with all required details. It will now become an official record within Lucidity Competency and the process has ended.
- Returned - If this option is selected, the local administrator must add a comment as to why the ticket is being returned, such as 'incorrect document attached.' This will then appear on the end-user's My Training > My Tickets page.

- Click 'Save'
- Click 'Edit' on the far right
Step 6: Edit Returned Tickets
Tickets returned to the end-user need to be edited and corrected. The end-user can do this by:
- Navigate to 'My Tickets' OR by navigating to the 'Needs' page as previously outlined
- Click 'Edit Ticket'
- Review the comments from the approver and correct the ticket details as required
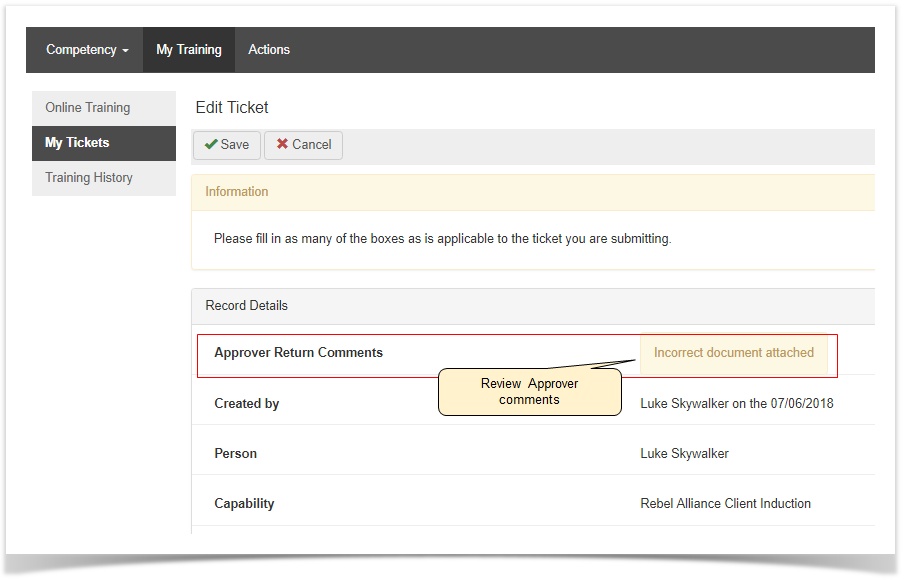
- Save changes
Validate Tickets
The cycle of a submitter editing the ticket details and the local administrator reviewing it continues until the administrator is satisfied and approves the ticket. Once approved, the process is complete and the ticket becomes a standard record within Lucidity Competency.
Post Approvals
Once a ticket has been approved and recognised as a valid record within Lucidity Competency, the end-user is unable to edit the record. Administrators with appropriate permission can edit the record as required.
Step 7: Prompt End-User to Submit a New Upload for a Specific Ticket
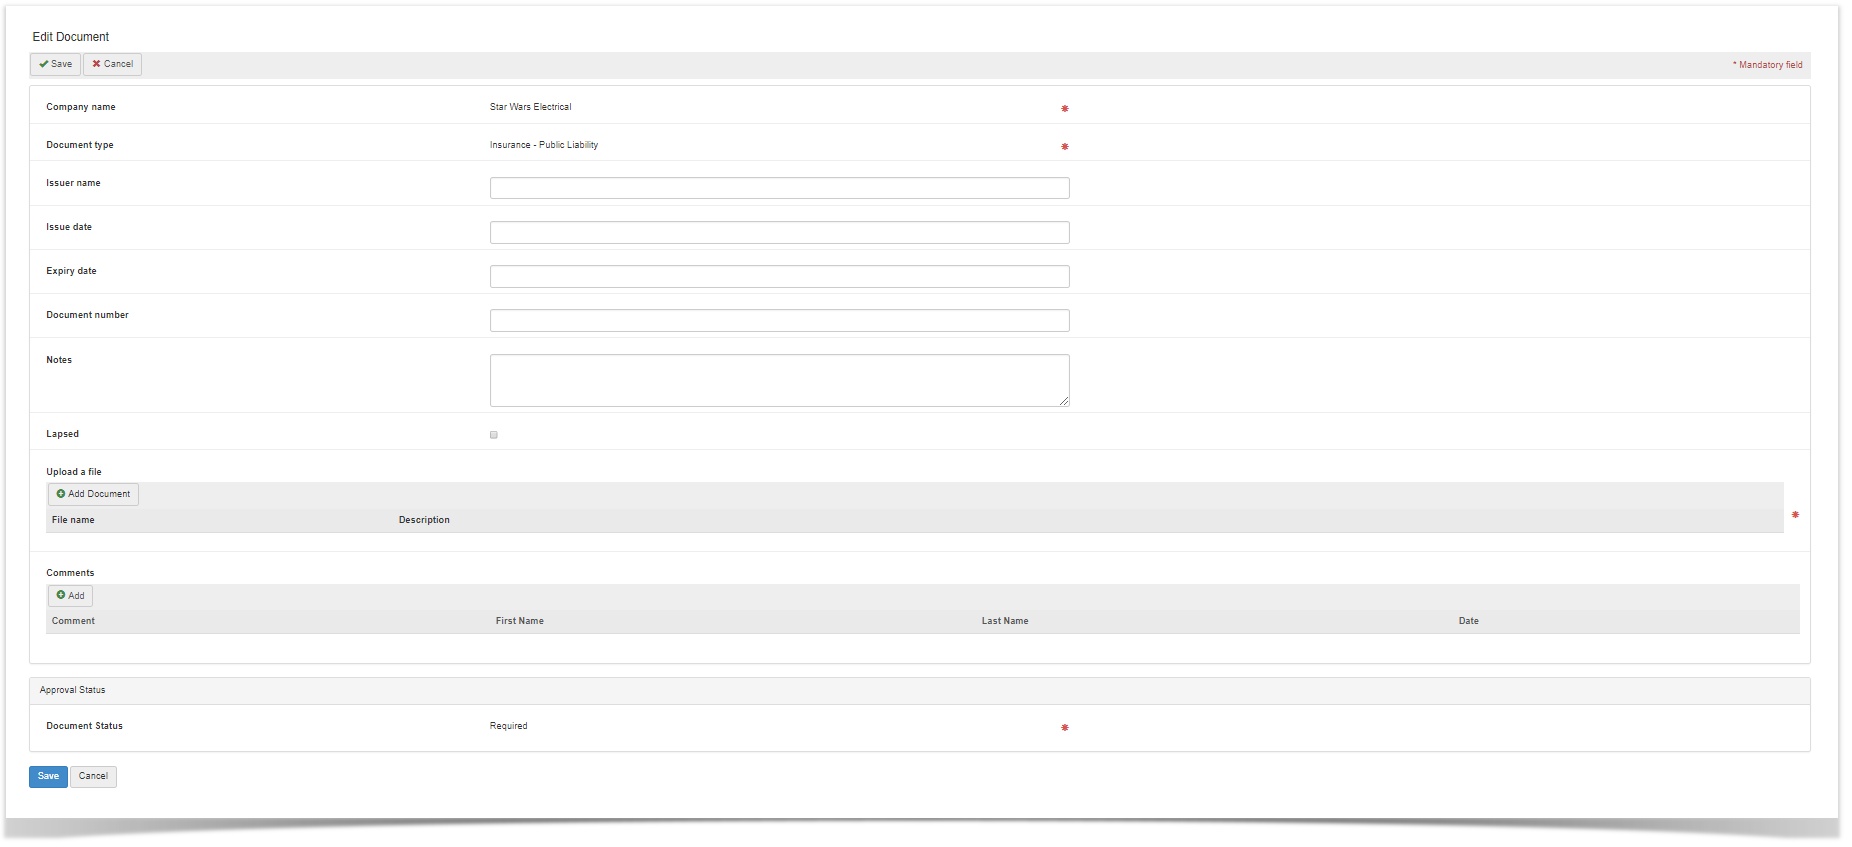
At any time an Administrator can trigger the 'My Tickets' to request a new upload from the end-user for a specific capability. This is done by Lapsing the existing training record for that capability. An Administrator can do this by following these steps:
- Navigate to the existing training record that the end-user is to be prompted to upload.
- Edit the existing training record and at the bottom of the record in the Additional section, tick the 'Lapsed' check box as below:
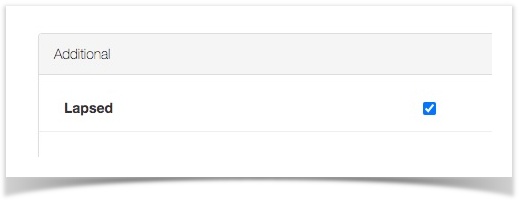
- Save the training record.
- If the capability is linked to a Role for the end-user, a training Need will automatically be created, and a corresponding capability will be added into the 'My Tickets' menu. This is the most common situation as Roles are the most efficient way to automate the training process.
- If the capability is NOT linked to a Role for the required end-user, then add a training Need for the required end-user and capability. This will add the required capability to the 'My Tickets' menu. This step is normally not required, as best practise is to use Roles to automatically trigger training Needs.